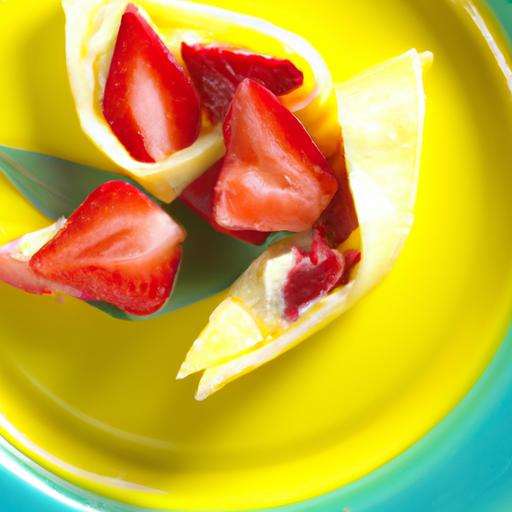
There’s something truly magical about transforming simple ingredients into a delightful treat that feels both nostalgic and fresh. Enter the world of homemade strawberry fruit roll-ups-vibrant, chewy, and bursting with natural sweetness. Better yet,you only need three everyday ingredients to whip up these colorful snacks that rival store-bought versions packed with additives. In this article, we’ll guide you through an easy, creative process to make your own strawberry fruit roll-ups, proving that flavorful, wholesome treats can be crafted effortlessly right in your kitchen. Get ready to roll, spread, and savor a fruity delight that’s as fun to make as it is to eat!
Easy 3-Ingredient Strawberry Fruit Roll-Ups You Can Make unlock a world of simple, fresh flavor that’s as delightful to create as it is to eat. These homemade treats channel the pure essence of ripe strawberries without the artificial additives found in store-bought versions. Inspired by nostalgic childhood snacks but reinvented with clean ingredients, this recipe transforms just a few staples into perfectly chewy fruit roll-ups bursting with natural sweetness.
Prep and Cook Time
- Preparation: 10 minutes
- Cooking: 4 hours (drying time in oven)
- Total Time: Approximately 4 hours 10 minutes
Yield
Makes 4 medium-sized rolls (about 8 servings)
Difficulty Level
Easy – perfect for beginners and fun to make with kids!
Ingredients
- 2 cups fresh strawberries, hulls removed, washed
- 2 tablespoons natural honey (or maple syrup for a vegan option)
- 1 tablespoon fresh lemon juice, to brighten the flavor and preserve color
Step-by-Step Guide to Crafting Perfectly Chewy Fruit Roll-ups
- Prepare your strawberries: In a blender or food processor, pulse the fresh strawberries until smooth and jam-like. This will be your vibrant, flavor-packed base.
- Add the sweetener and lemon juice: Stir in the honey (or maple syrup) and fresh lemon juice, ensuring an even mix. The lemon juice enhances the strawberry’s natural zing and helps balance the sweetness.
- Line a baking tray: Take a rimmed baking sheet and line it with a silicone baking mat or parchment paper to prevent sticking. This foundation is key for easy removal later.
- spread the puree evenly: Pour the strawberry mixture onto the lined tray and use a spatula to spread it evenly into a thin, uniform layer (about 1/8 inch thick). The thinner the layer, the faster it dries and the chewier the final texture.
- Dry the fruit roll-ups: Preheat your oven to the lowest setting (around 140°F/60°C). Place the tray in the oven and dry the fruit puree for approximately 3.5 to 4 hours. Keep the oven door slightly ajar to allow moisture to escape,checking periodically to avoid over-drying.
- Test for doneness: When the surface is no longer sticky to the touch but still flexible and pliable, remove from the oven. This perfect chewiness means your fruit roll-ups are ready.
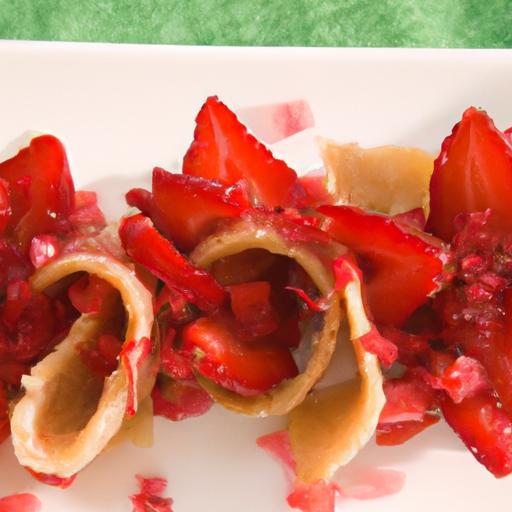
- Cut and roll: Use kitchen scissors or a sharp knife to cut into strips or fun shapes. Carefully peel from the mat and roll them up with parchment paper to keep them from sticking together.
Tips for Customizing Your Fruit Roll-Ups with Natural Sweeteners
- For a subtler sweetness, replace honey with pure maple syrup or agave nectar. Each adds its unique depth and keeps your roll-ups vegan-friendly.
- Boost fruity complexity by folding in a pinch of ground cinnamon or vanilla extract before drying.
- Looking to reduce sugar without losing flavor? Use a ripe banana blended in with strawberries to naturally sweeten and thicken the pureé.
- Try adding chia seeds for a nutrient-packed twist. Just stir in 1 tablespoon after blending-you’ll notice a delightful texture variation.
Creative Serving Ideas to Make Your Strawberry Roll-Ups Extra Special
- Snack Packs: Wrap individual roll-ups in parchment and place them in reusable snack bags for on-the-go enjoyment or lunchbox treats.
- Party Favors: Slice fruit roll-ups into fun shapes with cookie cutters and decorate with edible glitter or tiny fresh mint leaves for a vibrant, festive display.
- frozen pops: Roll the strips, insert a popsicle stick, and freeze for a refreshing strawberry icy pop perfect for warm days.
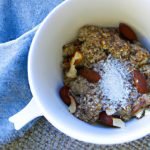
- Breakfast Boost: Chop small pieces and sprinkle atop greek yogurt or oatmeal with almonds and a drizzle of honey for a fruity crunch.
Chef’s Notes
- Storage: Keep your homemade strawberry fruit roll-ups in an airtight container at room temperature. They’ll stay fresh for up to 2 weeks or can be refrigerated for longer shelf life.
- Over-drying Warning: If the fruit leather feels too brittle,your oven temperature was likely too high or it dried for too long. try reducing time for softer, chewier results.
- Make-Ahead: These roll-ups are excellent to prepare in bulk and freeze.Simply thaw at room temperature before serving.
- Ingredient Swaps: Feel free to try other berries like raspberries or blueberries with this same technique for variety.
| Nutrient | Per Serving (1 roll-up) |
|---|---|
| Calories | 65 kcal |
| Protein | 0.5 g |
| Carbohydrates | 16 g |
| fat | 0.1 g |
Explore more easy homemade fruit snack recipes here to keep your kitchen full of natural treats. Enhance your strawberry knowledge by visiting Strawberry Checkoff – The U.S. Strawberry Board for expert tips and fresh facts.

Q&A
Q&A: Easy 3-Ingredient Strawberry Fruit Roll-Ups You Can Make
Q1: What are the three ingredients needed to make strawberry fruit roll-ups?
A: You only need fresh strawberries, honey (or maple syrup for a vegan option), and lemon juice. These simple ingredients create a naturally sweet, tangy, and vibrant fruit snack!
Q2: Can I use frozen strawberries rather of fresh ones?
A: Absolutely! Just thaw the frozen strawberries completely and drain any excess liquid before blending. This helps maintain the perfect texture for your fruit roll-ups.
Q3: How do I make sure the fruit roll-ups don’t turn out sticky or too chewy?
A: Spreading the fruit puree evenly in a thin layer on parchment paper and drying it low and slow-in your oven set to around 140°F (60°C) or using a food dehydrator-ensures an ideal leathery texture that peels off easily without sticking.
Q4: Is there a substitute for honey if I want to avoid animal products?
A: Yes! Maple syrup or agave nectar work beautifully to add natural sweetness while keeping the recipe vegan-friendly.
Q5: how long do homemade strawberry fruit roll-ups last?
A: Stored in an airtight container at room temperature, they can last up to two weeks. For even longer freshness, keep them in the fridge where they’ll stay nice up to a month.
Q6: Can I customize the flavor beyond just strawberries?
A: while the recipe is designed to highlight ripe strawberries, you can mix in a handful of other berries or a dash of vanilla extract for a fun twist.
Q7: Is it necessary to peel the strawberries before blending?
A: No peeling required! Simply wash the strawberries thoroughly and hull them (remove the green tops) before blending.
Q8: Can kids safely help with this recipe?
A: Definitely! Kids can wash and hull strawberries, help pour the puree onto the baking sheet, and even decide how thin or thick to spread the mixture-great for little hands and creative minds.
Q9: How do I store the finished strawberry fruit roll-ups?
A: Roll them up in parchment paper or plastic wrap, then place them in an airtight container or resealable bag to keep moisture out.
Q10: What makes homemade fruit roll-ups healthier than store-bought ones?
A: Homemade roll-ups contain no artificial colors,flavors,preservatives,or added sugars-just pure fruity goodness you control from start to finish!
In Retrospect
There you have it-a simple,sweet treat that proves you don’t need a pantry full of ingredients to make something delicious and fun. These easy 3-ingredient strawberry fruit roll-ups are perfect for busy days, lunchboxes, or whenever a healthy snack craving strikes. So next time you’re looking to whip up a wholesome, homemade delight, remember that with just strawberries, a touch of sweetness, and a little patience, you can create fruity rolls that everyone will love. Happy rolling!